
This article elaborates, three different techniques, as the solution for the user query i.e. how to migrate photos between google accounts. If you have the same query then, just go through this article and you will get most reliable solution for the same.
Google Photos is a convenient application developed by Google that automatically backs up your treasured photos from your phone, tablet, or any other device.
When your phone’s storage capacity is depleted, you may delete the images from your device and store them on Google Photos.
With its user-friendly design, Google Photos makes it simple to share photos with friends and family.
However, there may be times when you need to transfer your photographs between Google accounts, either to free up space or to protect them.
In this post, I will discuss the three best techniques for transferring photographs between Google accounts. Manual techniques are not advised since the data is massive, making it a laborious task. As a result, a third-party program that is a professional tool will be discussed with you so that you do not have to seek any further.
Expert-Recommended Software to Migrate Photos Between Google Accounts.
Google Drive Migrator is a utility that allows you to transfer all Photos from between Google accounts in bulk. Using the data-filter option, you may even migrate images within a specified time period. After the migration is complete, the photo hierarchy is also preserved.
This tool not only migrates your important photographs, but also other Google Drive data such as Docs, Slides, Sheets, and so on.
Go through the steps to know how to do it:
Step 1: Download and Launch the tool on your local system.

Step 2: Under the Setup tab and choose G Suite as the Source & Destination platform.
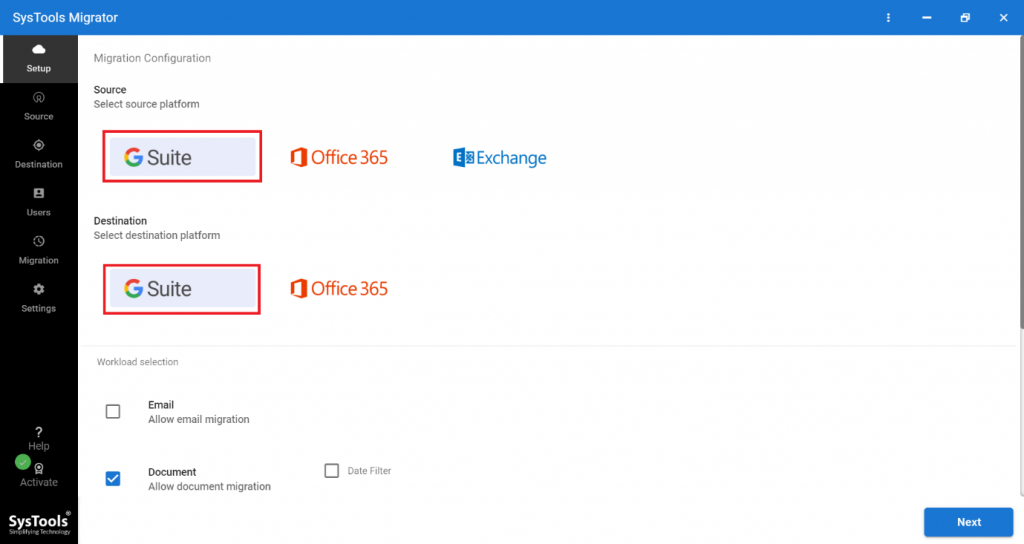
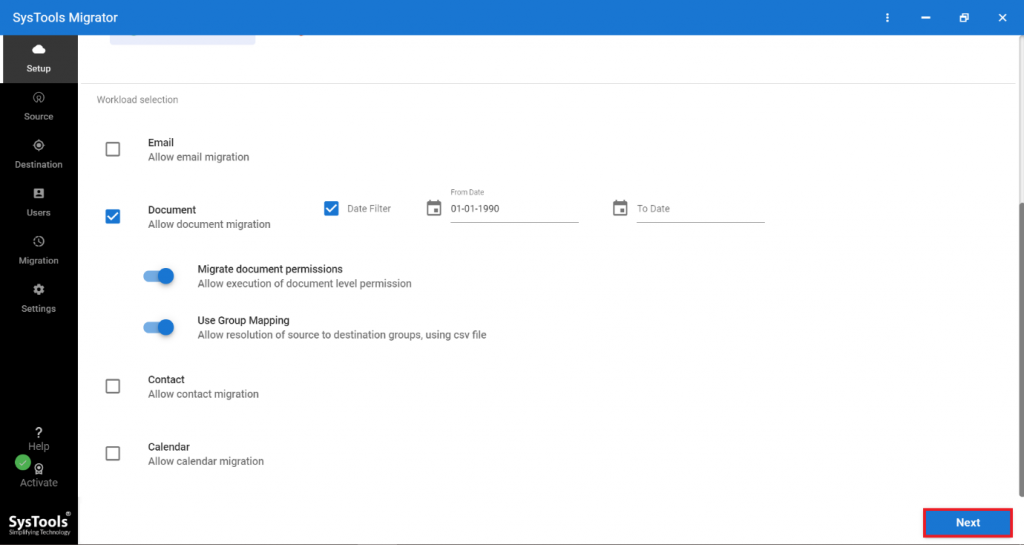
Step 3: Click on the Document option under the Workload Selection. You can also make use of the different filters available.
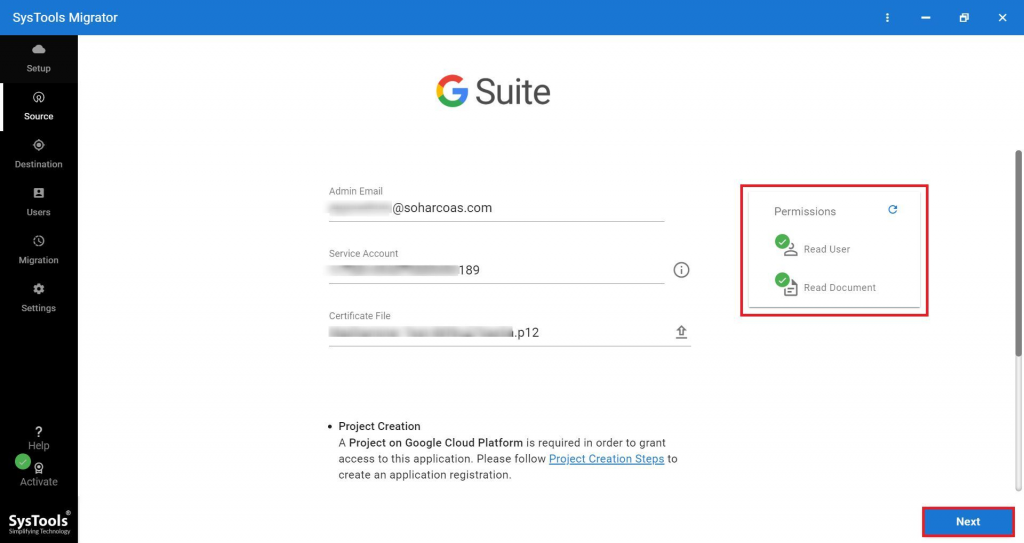
Step 4: After that, enter your G Suite information and add a certificate file. Validate your details and click on the Next tab in order to transfer photos between google accounts.
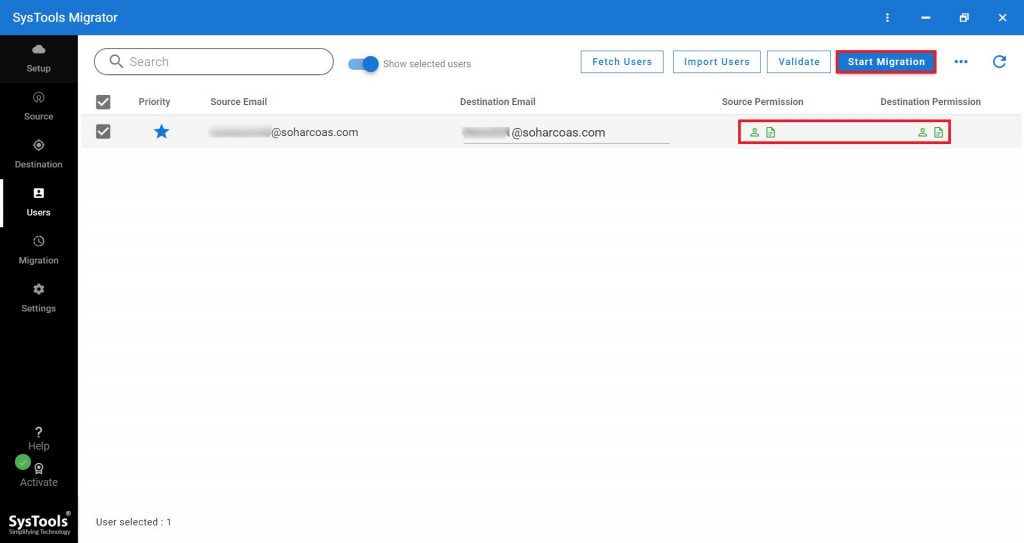
Step 5: Add Users from the accounts that need to be processed. are Methods to add the users are:
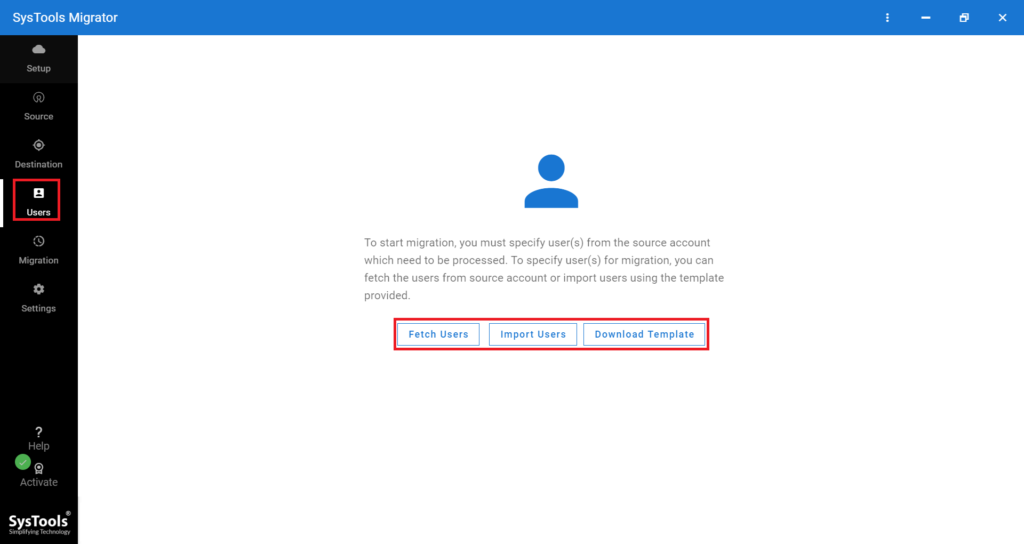
- Fetch Users: Get the user from the source domain.
- Import Users: You can get this user by importing a CSV file.
Step 6: Finally, click on the Start Migration option, after the users have been validated.
Use Google Takeout To Migrate Google Photos Between Accounts.
Google Takeout is a dependable method for downloading all Google Images to your system. The loaded images may then be effortlessly uploaded to another Google Photos account.
Follow the explained steps:
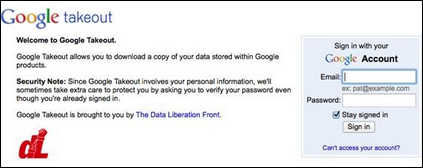
Step 1: Visit the Google Takeout Site and enter your Google Account credentials.
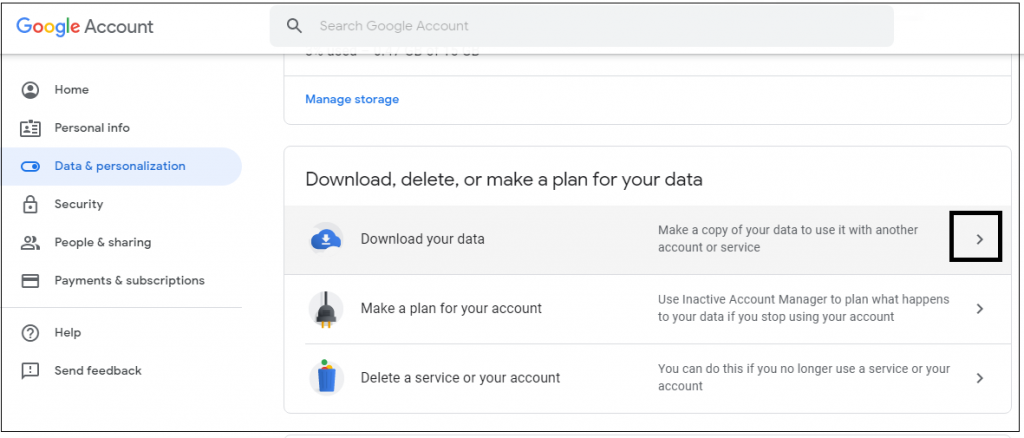
Step 2: Select the “Data and Personalization” option, then click on the Download Data option.
Step 3: first deselect all the boxes by clicking on the deselect all tab.
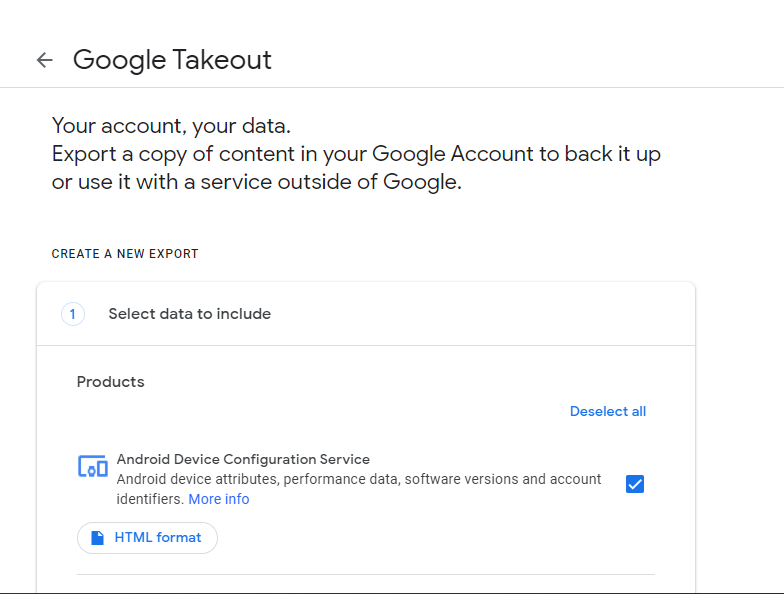
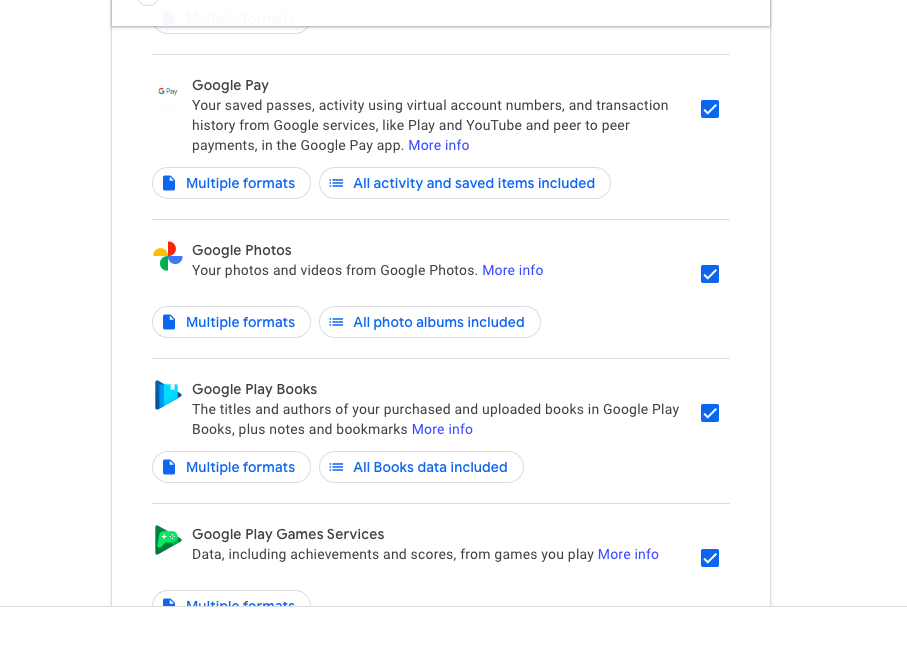
Step 4: Select the Google Photos option.
Step 5: For the selected items, choose the distribution mode, file format, and file size, also the delivery method in order to migrate photos between google accounts.
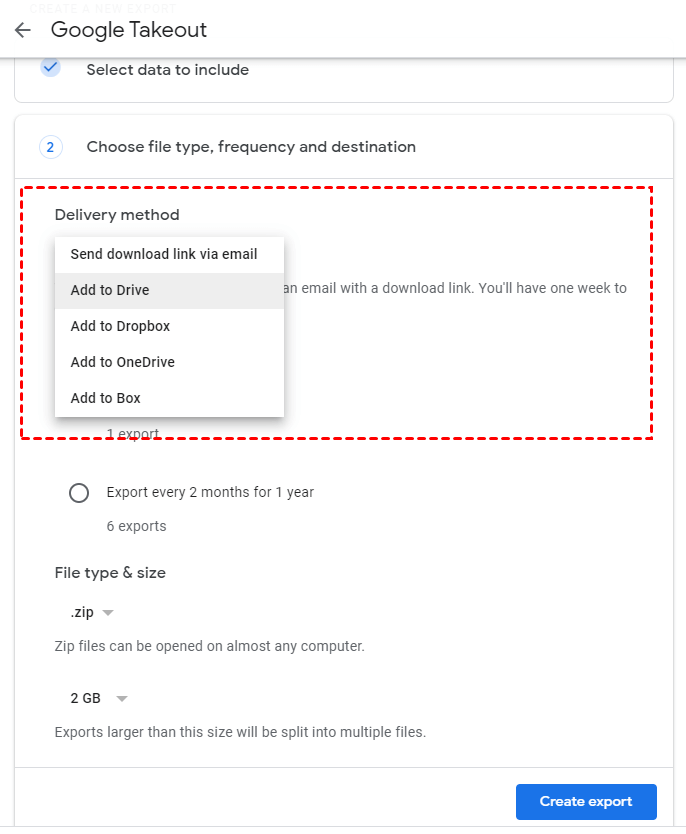
Step 6: Select the Create Archive tab tostart the downloading process.
Step 7: check the status of the download on the screen when the process starts.
Step 8: Click on the Save button after the download process is completed. The file will be in a .zip file format.
Limitations of the Manual Method to Transfer Photos Between Google Accounts
- It is not permitted to use Google Takeout to download files that are not yours.
- Folders shared with you in Drive cannot be exported using Google Takeout, even if they include files generated by you.
- Google Takeout has a daily restriction of two to three archives per day and a weekly limit of seven archives per week.
- Data exported using Google Takeout fails on occasion, making it an untrustworthy backup option in order to transfer photos between google accounts.
- Even when utilizing the.tgz format, an archive’s daily download restriction is 50 GB per day.
- When exporting big files or directories, unfinished downloads may occur
Use the Download and Upload Option to Migrate Photos Between Google Accounts.
People who use Google Photos and want to save media files to their local system and subsequently upload them from there can do so utilizing an in-built function provided by Google.
To learn how to accomplish it, follow these steps:
Downloading Method:
- Open Google Photos in your system’s web browser and sign in using your account and credentials.
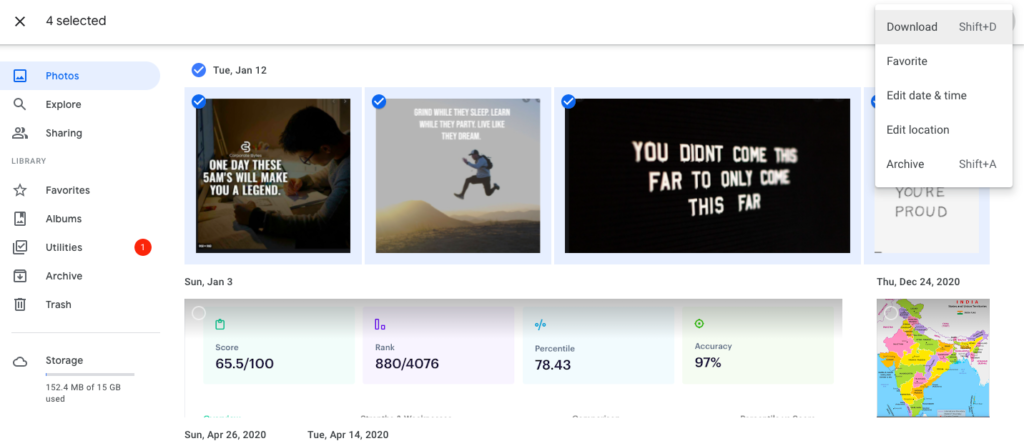
Choose the necessary images, then click the three dots and select the “Download” option from the drop-down menu.
- The files in the ZIP file format will be downloaded and placed in the system’s “Downloads” folder.
- Transfer the Zip folder to your desired destination and extract the files from there.
Uploading Method:
- Sign in with the second account and then click the “Upload” option.

- In the Upload mode, select “Computer.”
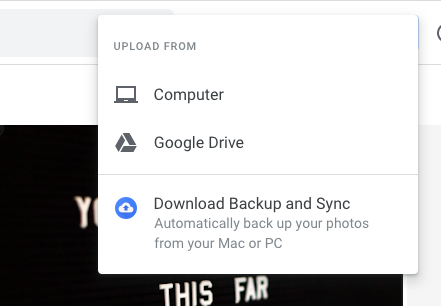
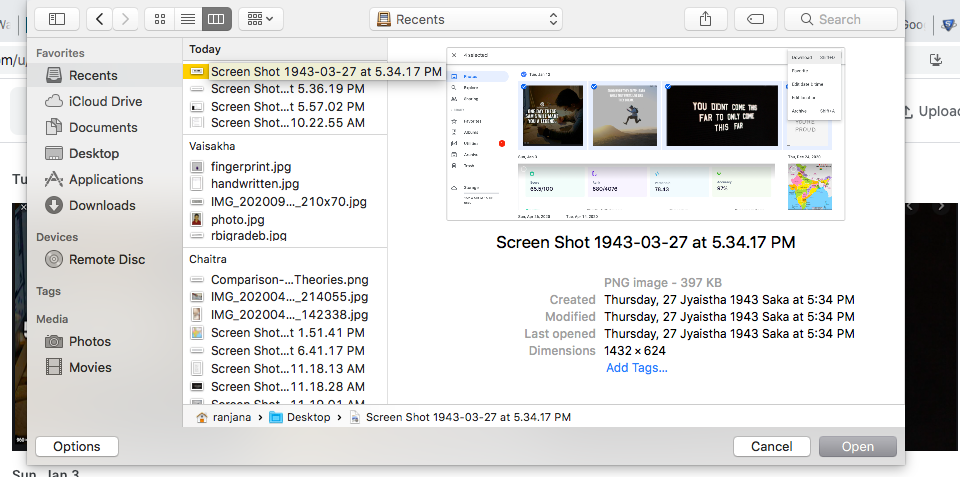
- Choose the files you want to upload (the ones you extracted from the ZIP folder) and click “Open.”
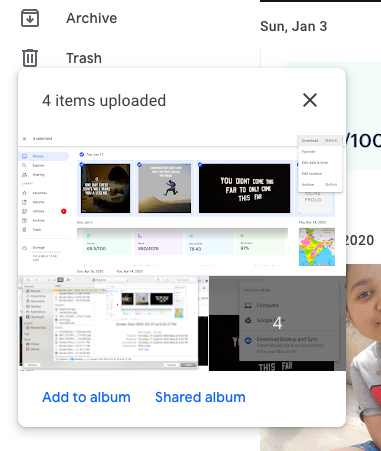
- The media files will now be transferred to your secondary Google account.
Concluding Words
Migrating photographs across Google accounts might be difficult if you are unfamiliar with the options available. As a result, in this post, I’ve revealed the ways that will allow you to easily migrate photographs between Google accounts.
Guest Post Service By www.guestarticlehouse.com